
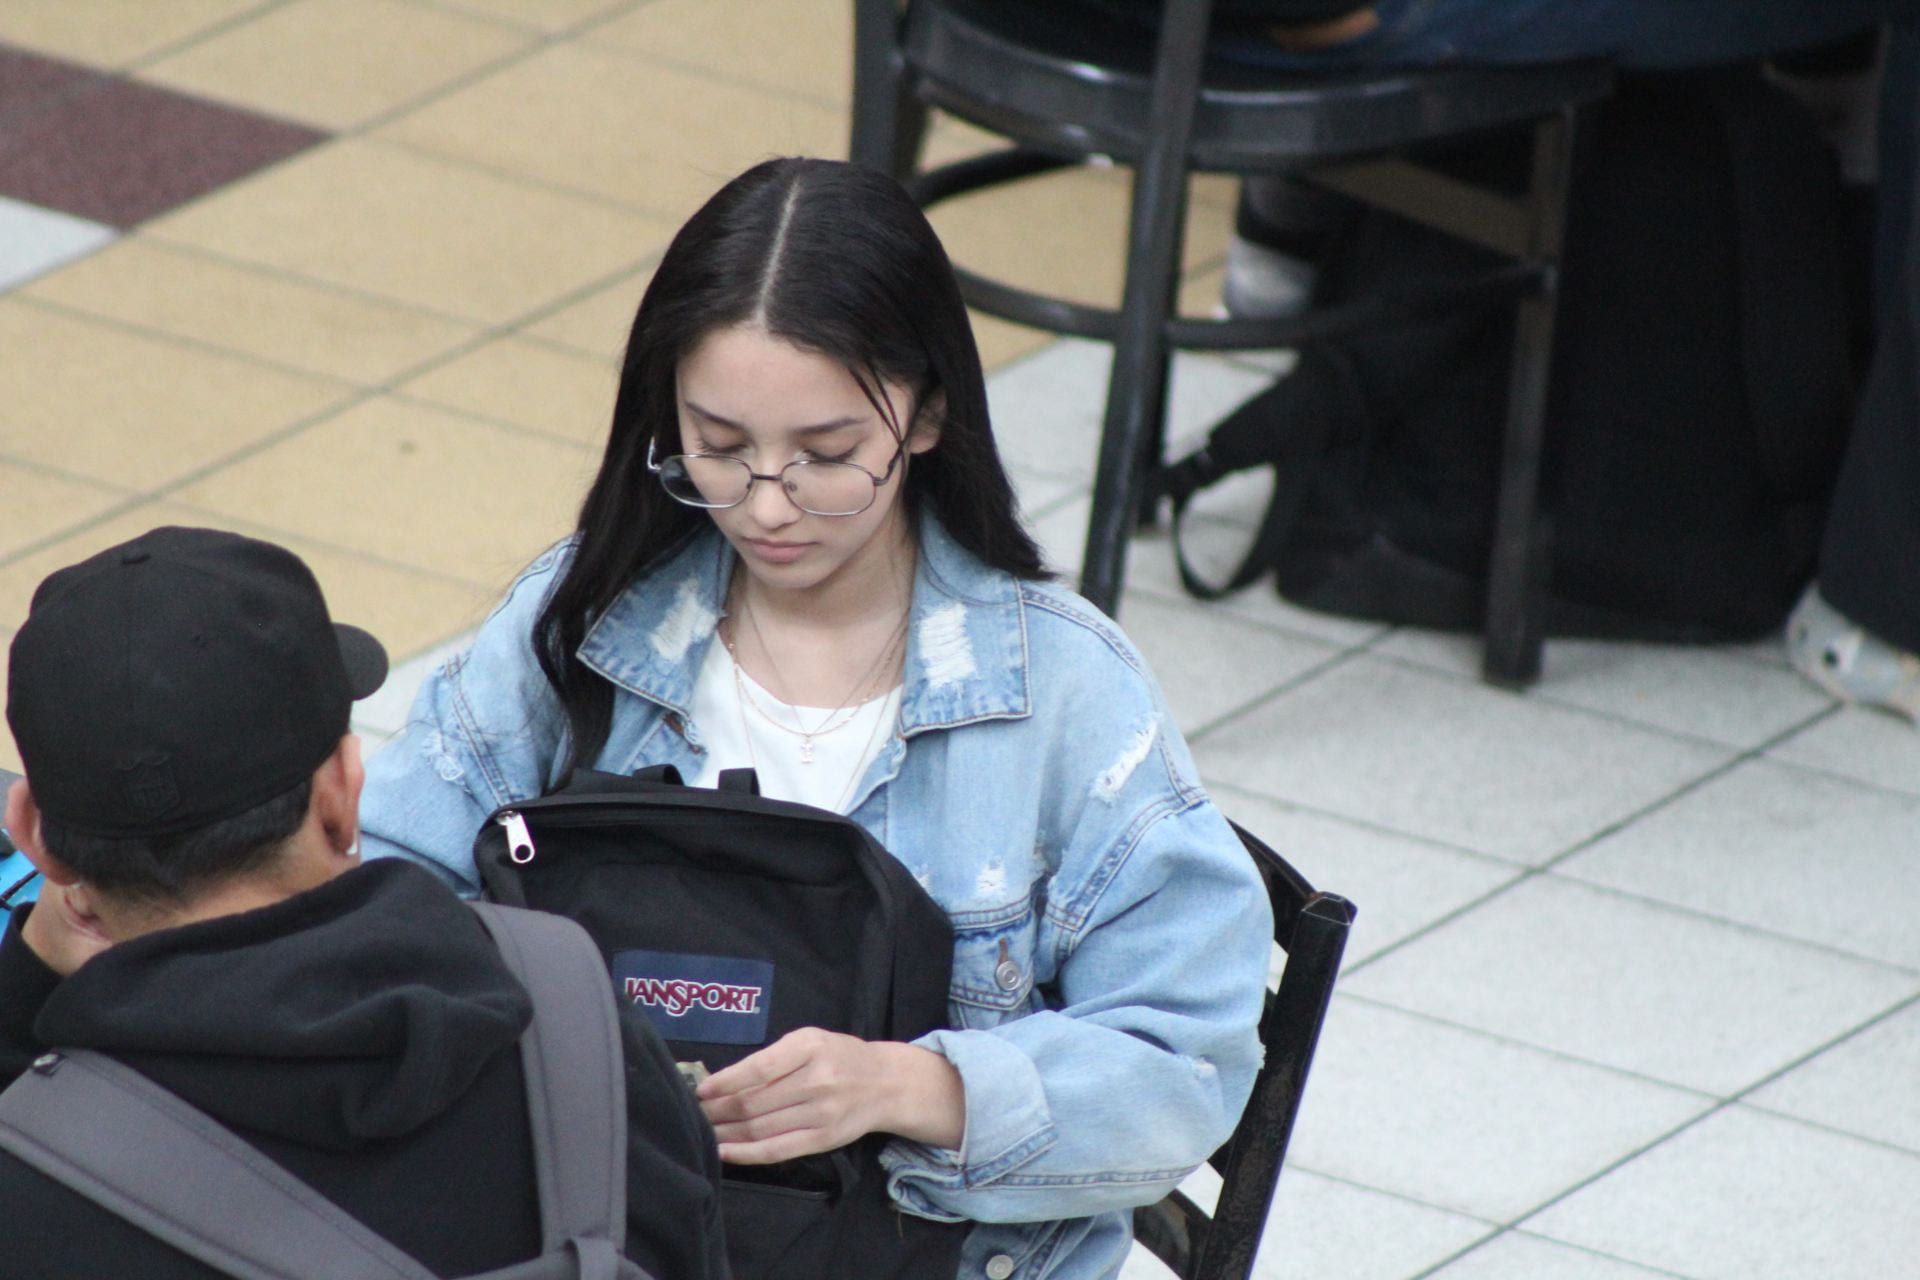
My inspiration: Chill, calm, cool, dream, myself, friends, cold, bench, natural light, phone, addicted, asking, simple, school, sitting, standing, 3 of me.
Categories: Uncategorized
My inspiration: Chill, calm, cool, dream, myself, friends, cold, bench, natural light, phone, addicted, asking, simple, school, sitting, standing, 3 of me.
Categories: Uncategorized
Categories: Uncategorized
White balance is used to correct the color of the image, if it is too blue or green colored it will make it look like it is shot in natural light. During the white balance process, you’re technically adjusting the colors along two spectrums, color temperature, and color tint. It is also used to adjust colors to match the color of the light source so that white object appears white. Most light sources produce a color cast depending on where you are taking the photo for example indoors you might get a yellow or blue lighting. You can also us an incorrect white balance to exaggerate the conditions of the scene.
Categories: Uncategorized
Categories: Uncategorized


Categories: Uncategorized


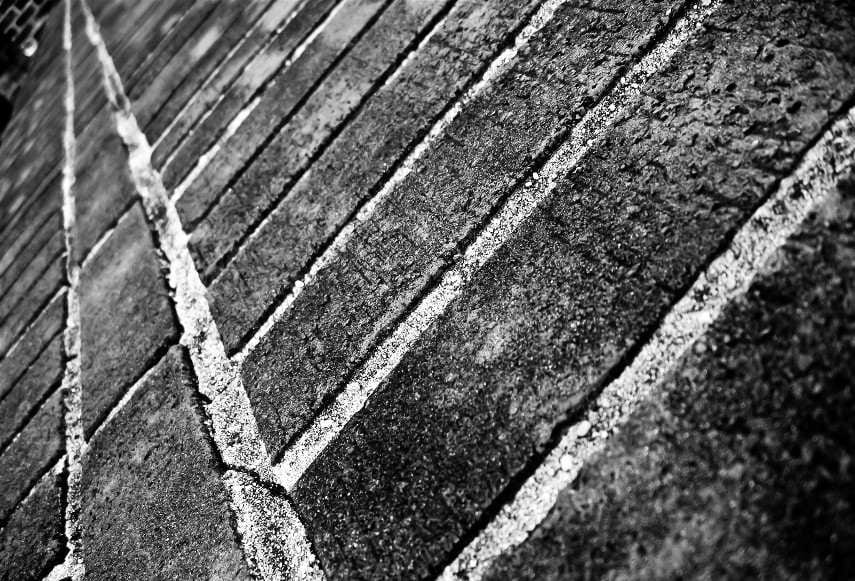

Aaron Siskind’s work focuses on the details of things such as texture, composition, focus, black and white photos. He is mostly known for his innovations in abstract photography, he mostly uses black and white, close range, and aerial photos of surfaces and objects. In my opinion I think his work is great because of the black and white photos with a lot of texture and focus on the little details of those three photos of his work I picked to post with mines
Categories: Uncategorized


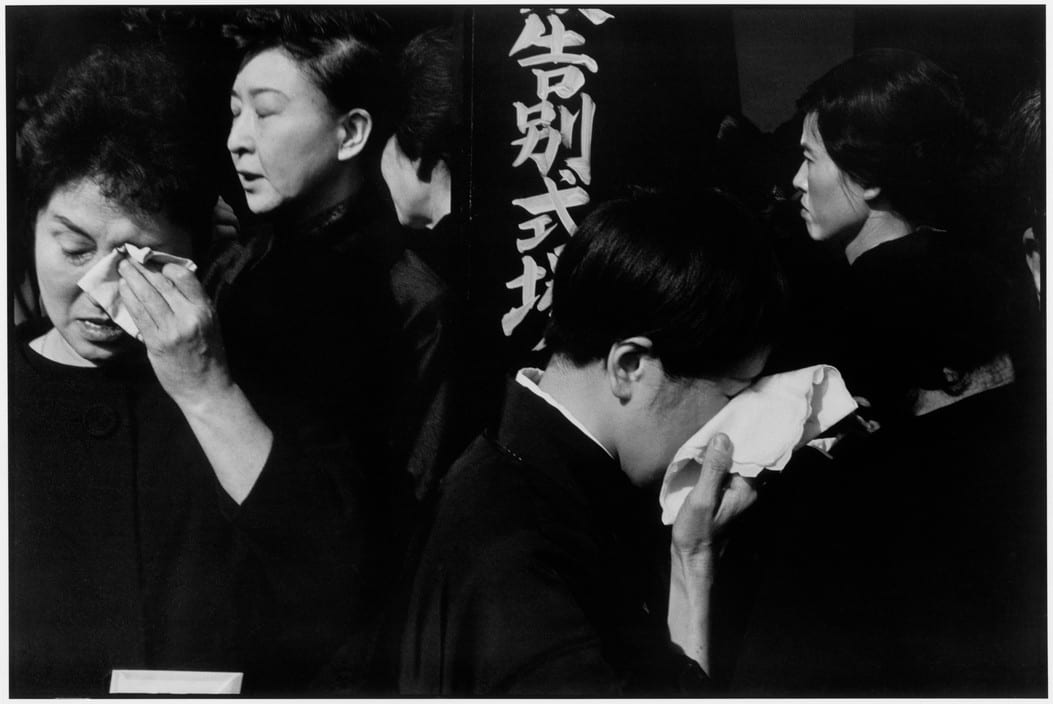


Henri Cartier-Bresson’s work is very perfect timing because he catches the best candid moments. One of the pictures I really liked from his work was the one where it looks like they are crying and cleaning their tears. He managed to capture them and the perfect timing right when they were wiping their eyes. Another picture that really stood out to me was the one with the guy hugging the girl on the couch or bench. Henri was able to catch that shoot of them sleeping while hugging each other. That picture really made me think how far he might have been if he was close. The last picture that caught my eye of his work was the old lady where she is just standing outside. He was able to take a picture of the old lady outside looking at a direction. That picture also made me thing how far was he taking it from or was he walking past. Now I know what Henri Cartier-Bresson meant when he said the decisive moment and how he walked around the streets just photographing.
Categories: Uncategorized


Categories: Uncategorized
Motion blur is based on your shutter speed, so a fast shutter speed will capture the image sharp, and a slow shutter speed will show the motion blur. The reason for motion blur is simply that your camera’s shutter remains open for a significant period. To get a good blurry motion blur is to have the longest/slow shutter speed your camera has. To have a sharp picture make sure you have the short/fastest shutter speed that your camera has. The other factor that comes into play when determining shutter speed is how much light exists in the scene. A longer shutter speed lets more light into your camera and runs the risk of blowing out or overexposing your image. If you don’t have a try pod you need to do everything you can to keep your camera perfectly still, otherwise you’ll capture a blurry subject. Shutter Priority Mode is the best for motion blur, you set the shutter speed and your camera will set everything else. It ensures you get the movement effect you’re after while also capturing generally well exposed images. Narrow the aperture because the narrow the aperture, the less light that will hit the camera sensor.
Categories: Uncategorized
